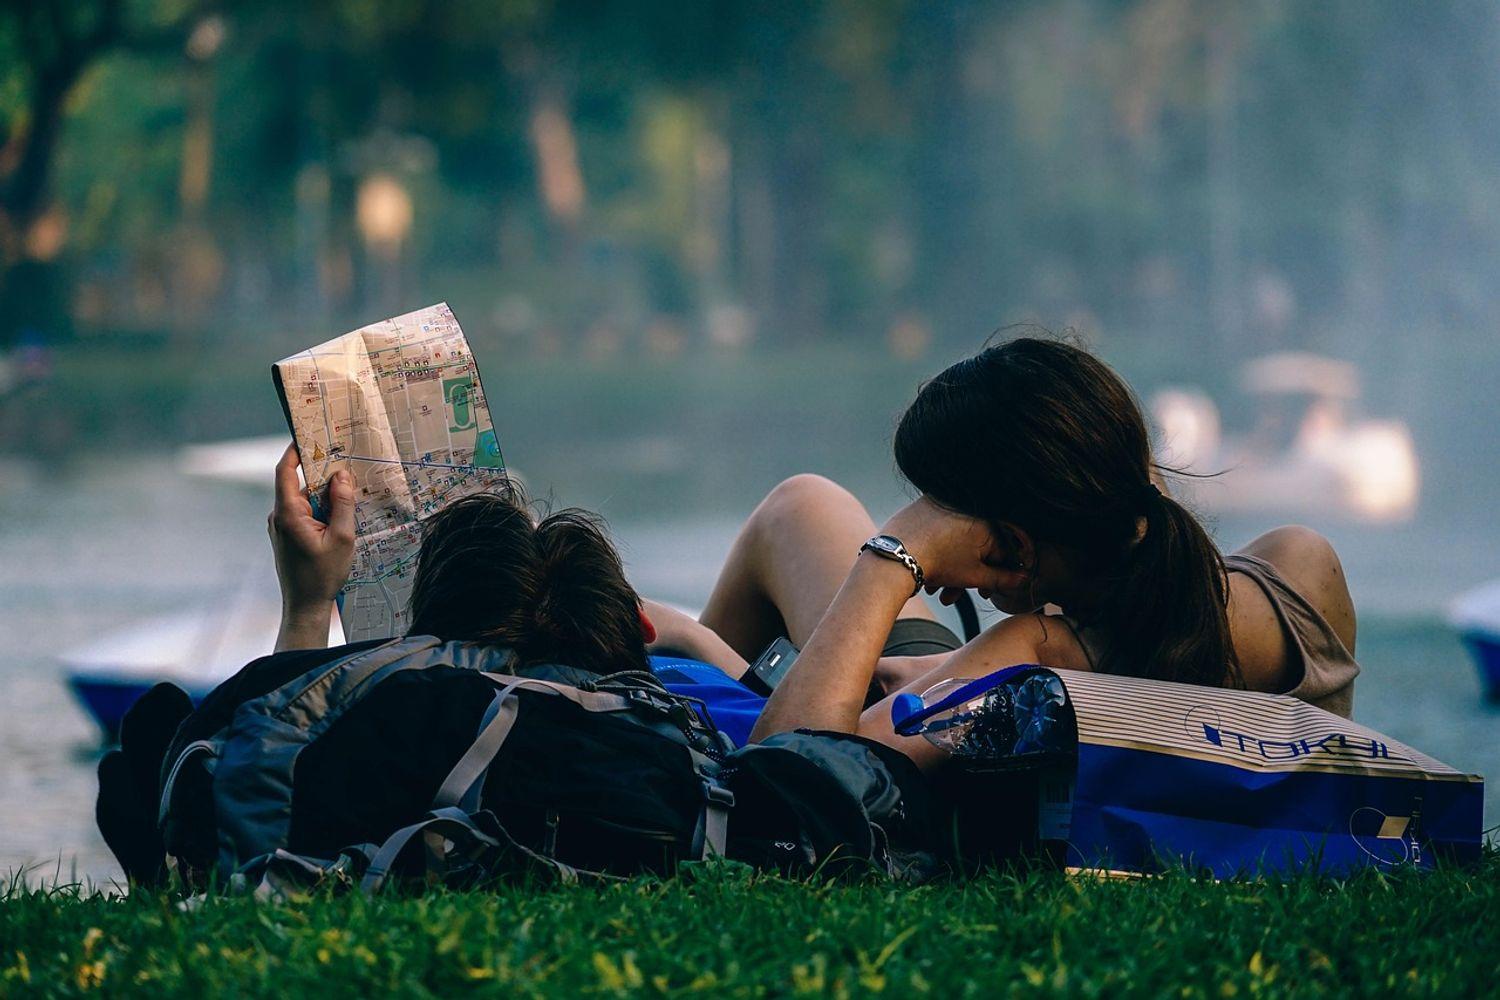
Trek planning stands as an intriguing but demanding journey which needs careful consideration. Each step of your trekking process from selecting your destination to organizing your equipment demands thorough preparation and deliberate consideration.
A properly thought-out trek should not become too demanding to handle. You will learn to plan your trek with confidence by following these specific steps while ensuring you have what you need to complete every stage.
1. Choose Your Trek Destination
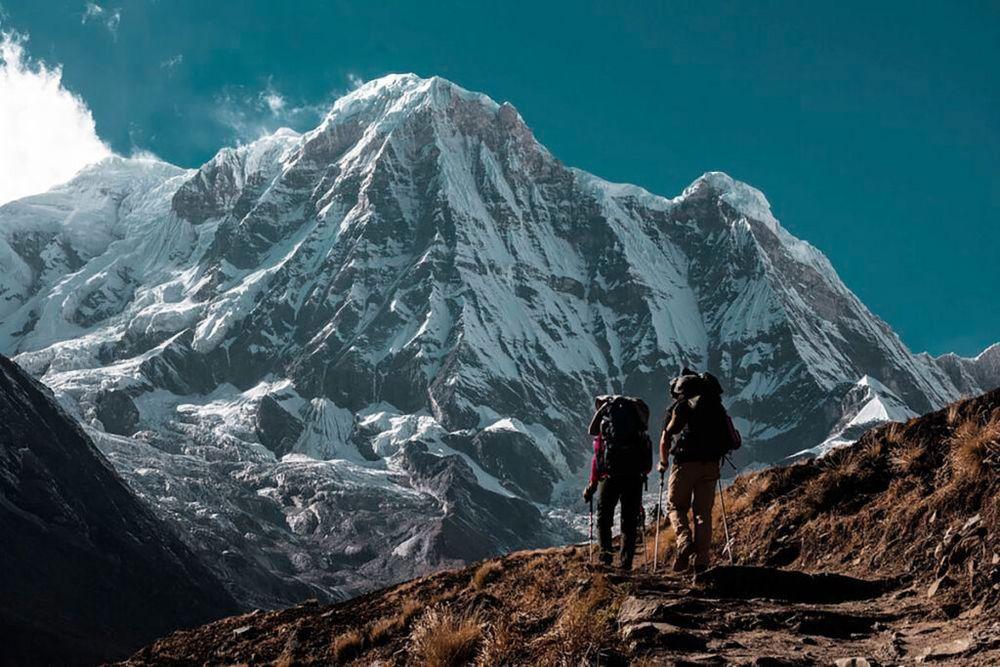
The first and foremost decision you will make in your trek planning is about the best destination. Do you want to scale high peaks, hike deep forests, or make a trek on ancient routes?
The interest, physical condition, and time you can devote will determine the destination of your trek. Examples of popular treks are the Langtang Valley Trek and the Everest Base Camp Trek.
When deciding, consider the following factors:
Difficulty Level: Is the difficulty level supposed to be more challenging or average?
Accessibility: The trekking spots might be a little difficult to access and will take some more hassle to reach the starting point.
Season: The best times to trek vary depending on the region, so one has to ensure they pick the right time in favorable weather conditions. You should also consider what time of year suits your schedule best.
For instance, during spring and autumn, one finds generally clear skies in Nepal, and because of that, the conditions are most pleasant during these periods.
2. Choose an Appropriate Time of Year
It makes an enormous difference in the season in which you start your trek. A majority of trek destinations have a high time when it is perfect from stability concerns of weather, and the trails become good enough.
Some of the peak trekking seasons in the regions of Nepal usually go up in spring-from March to May and autumn-from September to November, the weather there usually remains mild while the best of views of mountains can appear when:.
However, in general, different regions are better suited to different seasons:
Spring (March-May): The trails are alive with flowers, and the weather conditions are warm.
Autumn (September-November): This is the most popular season as the skies are usually clear with perfect trekking conditions.
Winter (December-February): Trekking in winter means smaller crowds and more peacefulness, though it can get cold, albeit prepared for more extreme weather conditions.
Monsoon (June to August): Most places are actually considered unsuitable during monsoons for trekking. However, those few receiving limited rains owing to shadow areas, for instance Upper Mustang, happen to be a perfect option even during these seasons.
3. Determine your budget
The cost of trekking varies significantly depending on where, what kind, and how much comfort level one wants. An early budget will help make lots of important transportation, accommodation, food, and gear decisions. To begin with, consider:
Permits: Sometimes, those that take place in restricted areas require special permits that cost extra money.
Accommodation: Your choice of basic teahouses, camping, or booking luxury lodges will vary your budget.
Guides and Porters: Hiring a guide and/or porter is not obligatory, although it makes trekking easier and safer. This would add to your overall cost, but it's very well worth it.
Food and Water: Even though one can often buy meals on the trail, add in the cost of food for some treks, which may be pretty pricey.
Be realistic about what you have available to spend, and don't forget to budget for extra expenses or emergencies.
4. Assess Your Fitness Level
Trekking itself is physically tiring, and your knowledge of your fitness will help you decide on the proper trek. Whereas some treks are easy to walk through, other treks like Everest Base Camp require good stamina and sound physical fitness.
Get into shape for this if you are not in the best shape through frequent training. Commence with walking and running, then hiking to get your endurance. The core and legs will have to be strong from squats and lunges. You also need to get used to hiking while carrying a fully packed backpack to put you through real conditions of what to expect.
Most treks have options for novice trekkers to take slower routes or take rest days to acclimate. Be sure to choose a trek that is appropriate for your level of physical fitness to avoid overexertion.
5. Research Permits and Regulations
Permits are required in many trekking areas, but mostly in protected or restricted regions. For instance, in Nepal, there is a requirement for permits in the case of areas such as Annapurna or Everest, the TIMS card and national park entry permits. A number of destinations might require special permits for trekking in some very remote or restricted areas.
Research what permits are required for your trek, as this is sometimes possible through a trekking agency or directly from government offices. Note that the cost for permits can vary depending on the region and length of time.
6. Pack Smart
Whatever trek a person embarks on, they first need to have the right gear. One might overpack and end up carrying a heavy bag or underpack and find themselves unprepared for whatever arises. First, make out your checklist with items needed depending on the terrain, climate, and duration of the trek.
Some other essentials would include:
Clothing: Layered clothing is the most vital, including base layers, mid-layers, and waterproof outerwear.
Footwear: Strong, comfortable hiking boots are necessary for long days on the trail.
Day backpack: good quality daypack for shorter treks, or a larger trekking bag in which everything can fit for multi-day adventures.
Sleeping bag and tent: if the trek includes camping.
First-aid kit: always take a first-aid kit with band-aids, painkillers, and antiseptic wipes.
Water treatment: water purification tablets or filters are pretty important so as not to be limited with access to clean water along the way.
Packing light yet efficiently means you have all that you need but stay comfortable on the trail.
7. Plan Your Accommodation
The accommodations on treks often range from the destination. You get to see teahouses and lodges in mostly main trekking routes of famous areas in Nepal, and they offer basic meals with a place to rest. In more remote areas, the only option may be camping.
Before you go, research the options for accommodation along your route. Many trekkers prefer to stay in tea houses because they are an authentic local experience and save weight compared to carrying camping gear. Be prepared to book accommodations in advance during peak seasons to avoid any last-minute surprises.
If you are going to camp, you have to make sure you have a high-quality tent, sleeping bag, suitable for the temperature to be encountered, among others.
8. Arrange for Guides and Porters
While many experienced trekkers go alone, hiring a guide or porter will add considerably to your trekking experience. Guides have very valuable local knowledge and ensure that you don't miss the cultural and scenic highlights of your trek. They also offer safety by showing you the trails and giving helpful tips on how to stay healthy in the mountains.
The porters will carry the heavy backpack to enable you to focus on the hike, not to be bogged down by weight. This is very important, especially on longer treks or when you're heading to higher altitudes. Guides and porters contribute to the local economy and are a way of promoting responsible trekking.
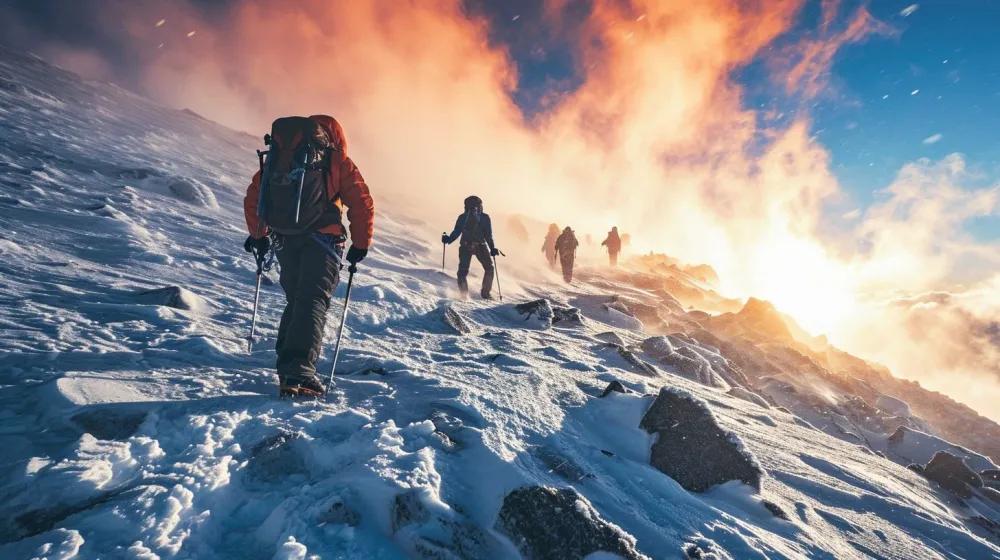
9. Learn About Altitude Sickness
Altitude sickness may occur above 2,500 meters (8,200 feet); symptoms can range from mild to severe. The thinner the air gets, the greater the altitude, which gives you headaches and dizziness as well as shortage of breath. Understanding the signs and ways to prevent it plays an important key for high altitude treks.
To minimize your risk:
Ascend slowly: Try not to be ascending rapidly to give your body time to adjust.
Stay hydrated: Plenty of water to counter the effects of dehydration.
Avoid alcohol: Alcohol adds to dehydration, thereby heightening symptoms.
Where symptoms of altitude sickness occur, immediate descent is recommended with subsequent medical consultation where necessary.
10. Plan Your Meals and Hydration
Food and water are also vital for trekking energy on the trail. Wholesome meals taken vary depending on where your trek is. From teahouses, most villages in the Himalayas present local food and more, like dal bhat: lentil soup with rice-one good source of needed carbohydrates and proteins.
If one is trekking in remote places away from bottled water, he takes a refillable water bottle and chemical treatment tablets or filters.
11. Understand the Route
Before commencing your hike, it will be good if you get acquainted with the route that you will go by. Study the maps and trail guides, read travel blogs-the information about terrain, difficulty level, and key landmarks along the route. The knowledge of what lies ahead will give you a kind of control over things and also help you to prepare for them accordingly.
If possible, seek an understanding from other trekkers or guides about the condition of the trail. They may be able to provide valuable first-hand information that is not available from guidebooks or other Internet sources.
12. Stay Connected and Safe
It would involve extensive time out in the wilderness; hiking usually puts you way outside of any available grid. Now, as much as that sounds enticing to be cast off from any traces of digital existence, you don't want to fall off the radar completely. It is always worth checking before you go out how to be contactable in some way, if needed.
Satellite Phones: Of course, satellite phones can sometimes be your rescue when there's no cell service.
Local emergency numbers: Find out the local emergency contact numbers and have them written down somewhere for easy access.
Travel in groups or with guides: It is even safer to travel in groups or to hire guides as they are experienced and more familiar with the area.
While one needs to accept the adventure aspect of the trek, it is always important to put safety first and have a solid communication plan ready at all times.
13. Secure Travel Insurance
High-altitude or very remote trekking includes certain risks. Accidents, injuries, and other unexpected events may occur, and thus travel insurance is a must. Your insurance should cover emergency evacuation, medical treatment, and cancellations.
Conclusion
Planning a trek requires much time other than choosing the place and packing your bags. Go thorough research, physical training, and understand the trail conditions. This guide, if taken step by step, should put you through some basic and realistic planning so you can fully enjoy the trek.